A sport reimagined for all, introducing the…
SWORD SEAT
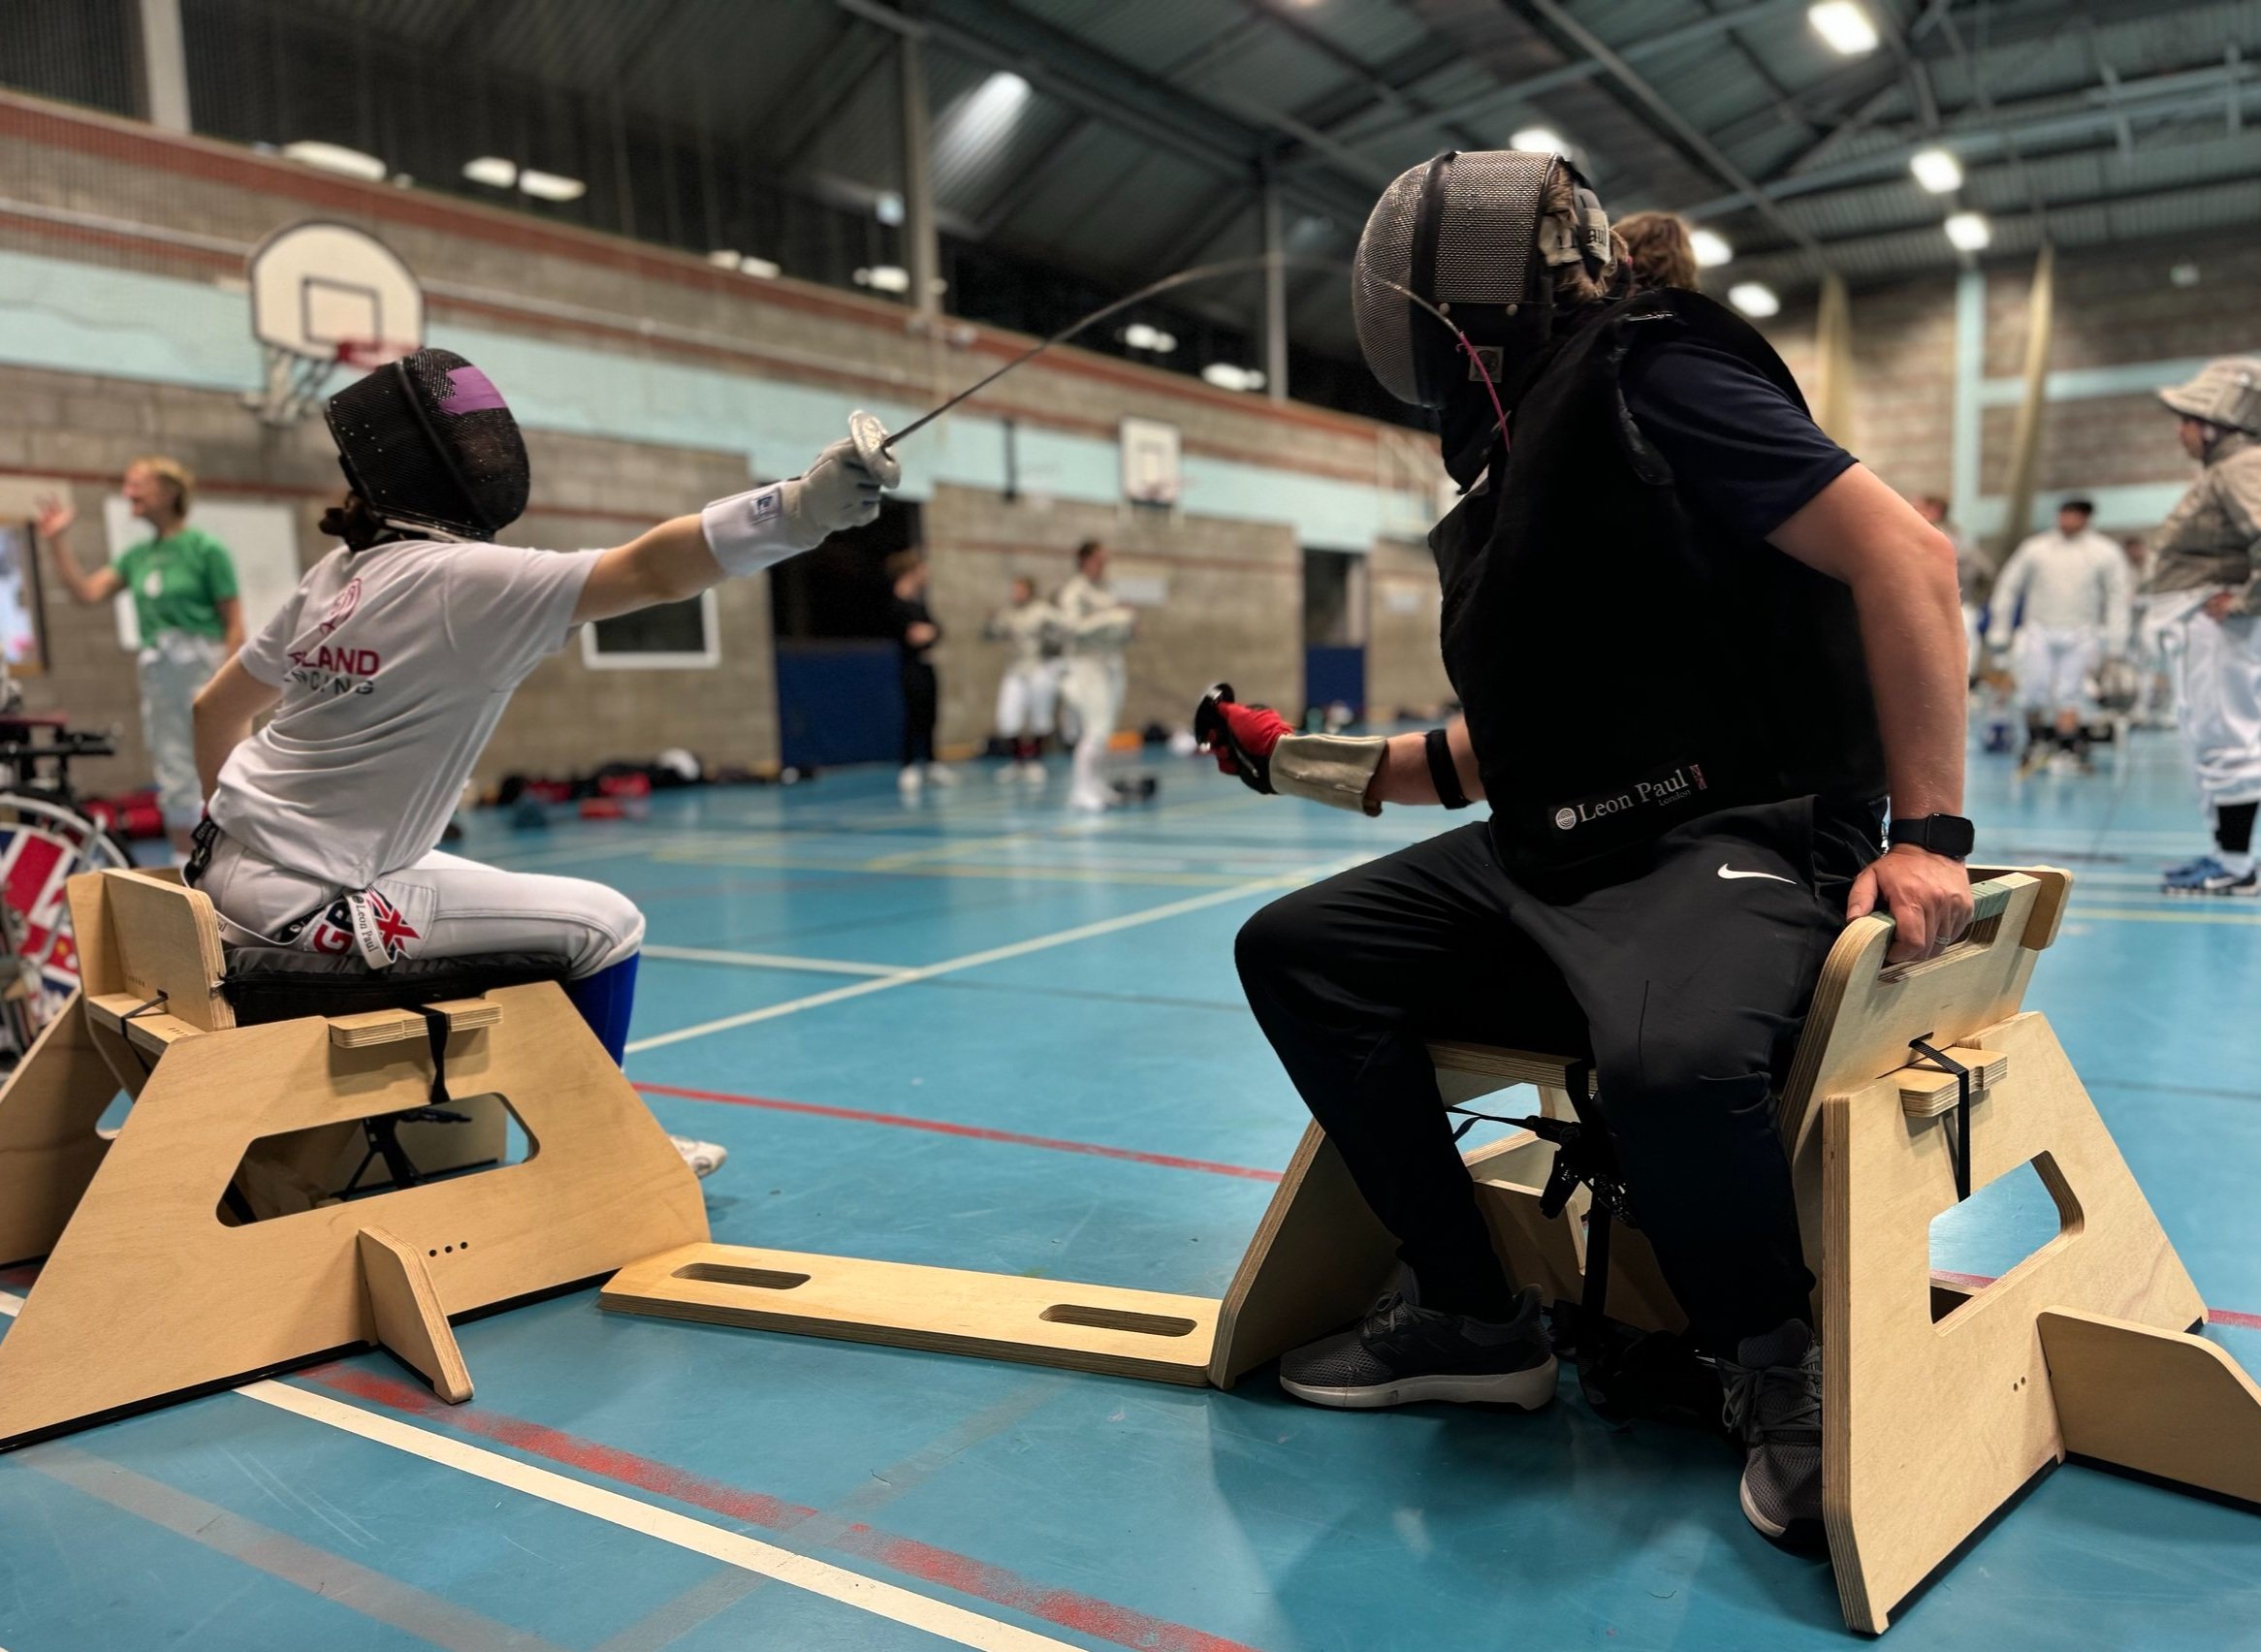
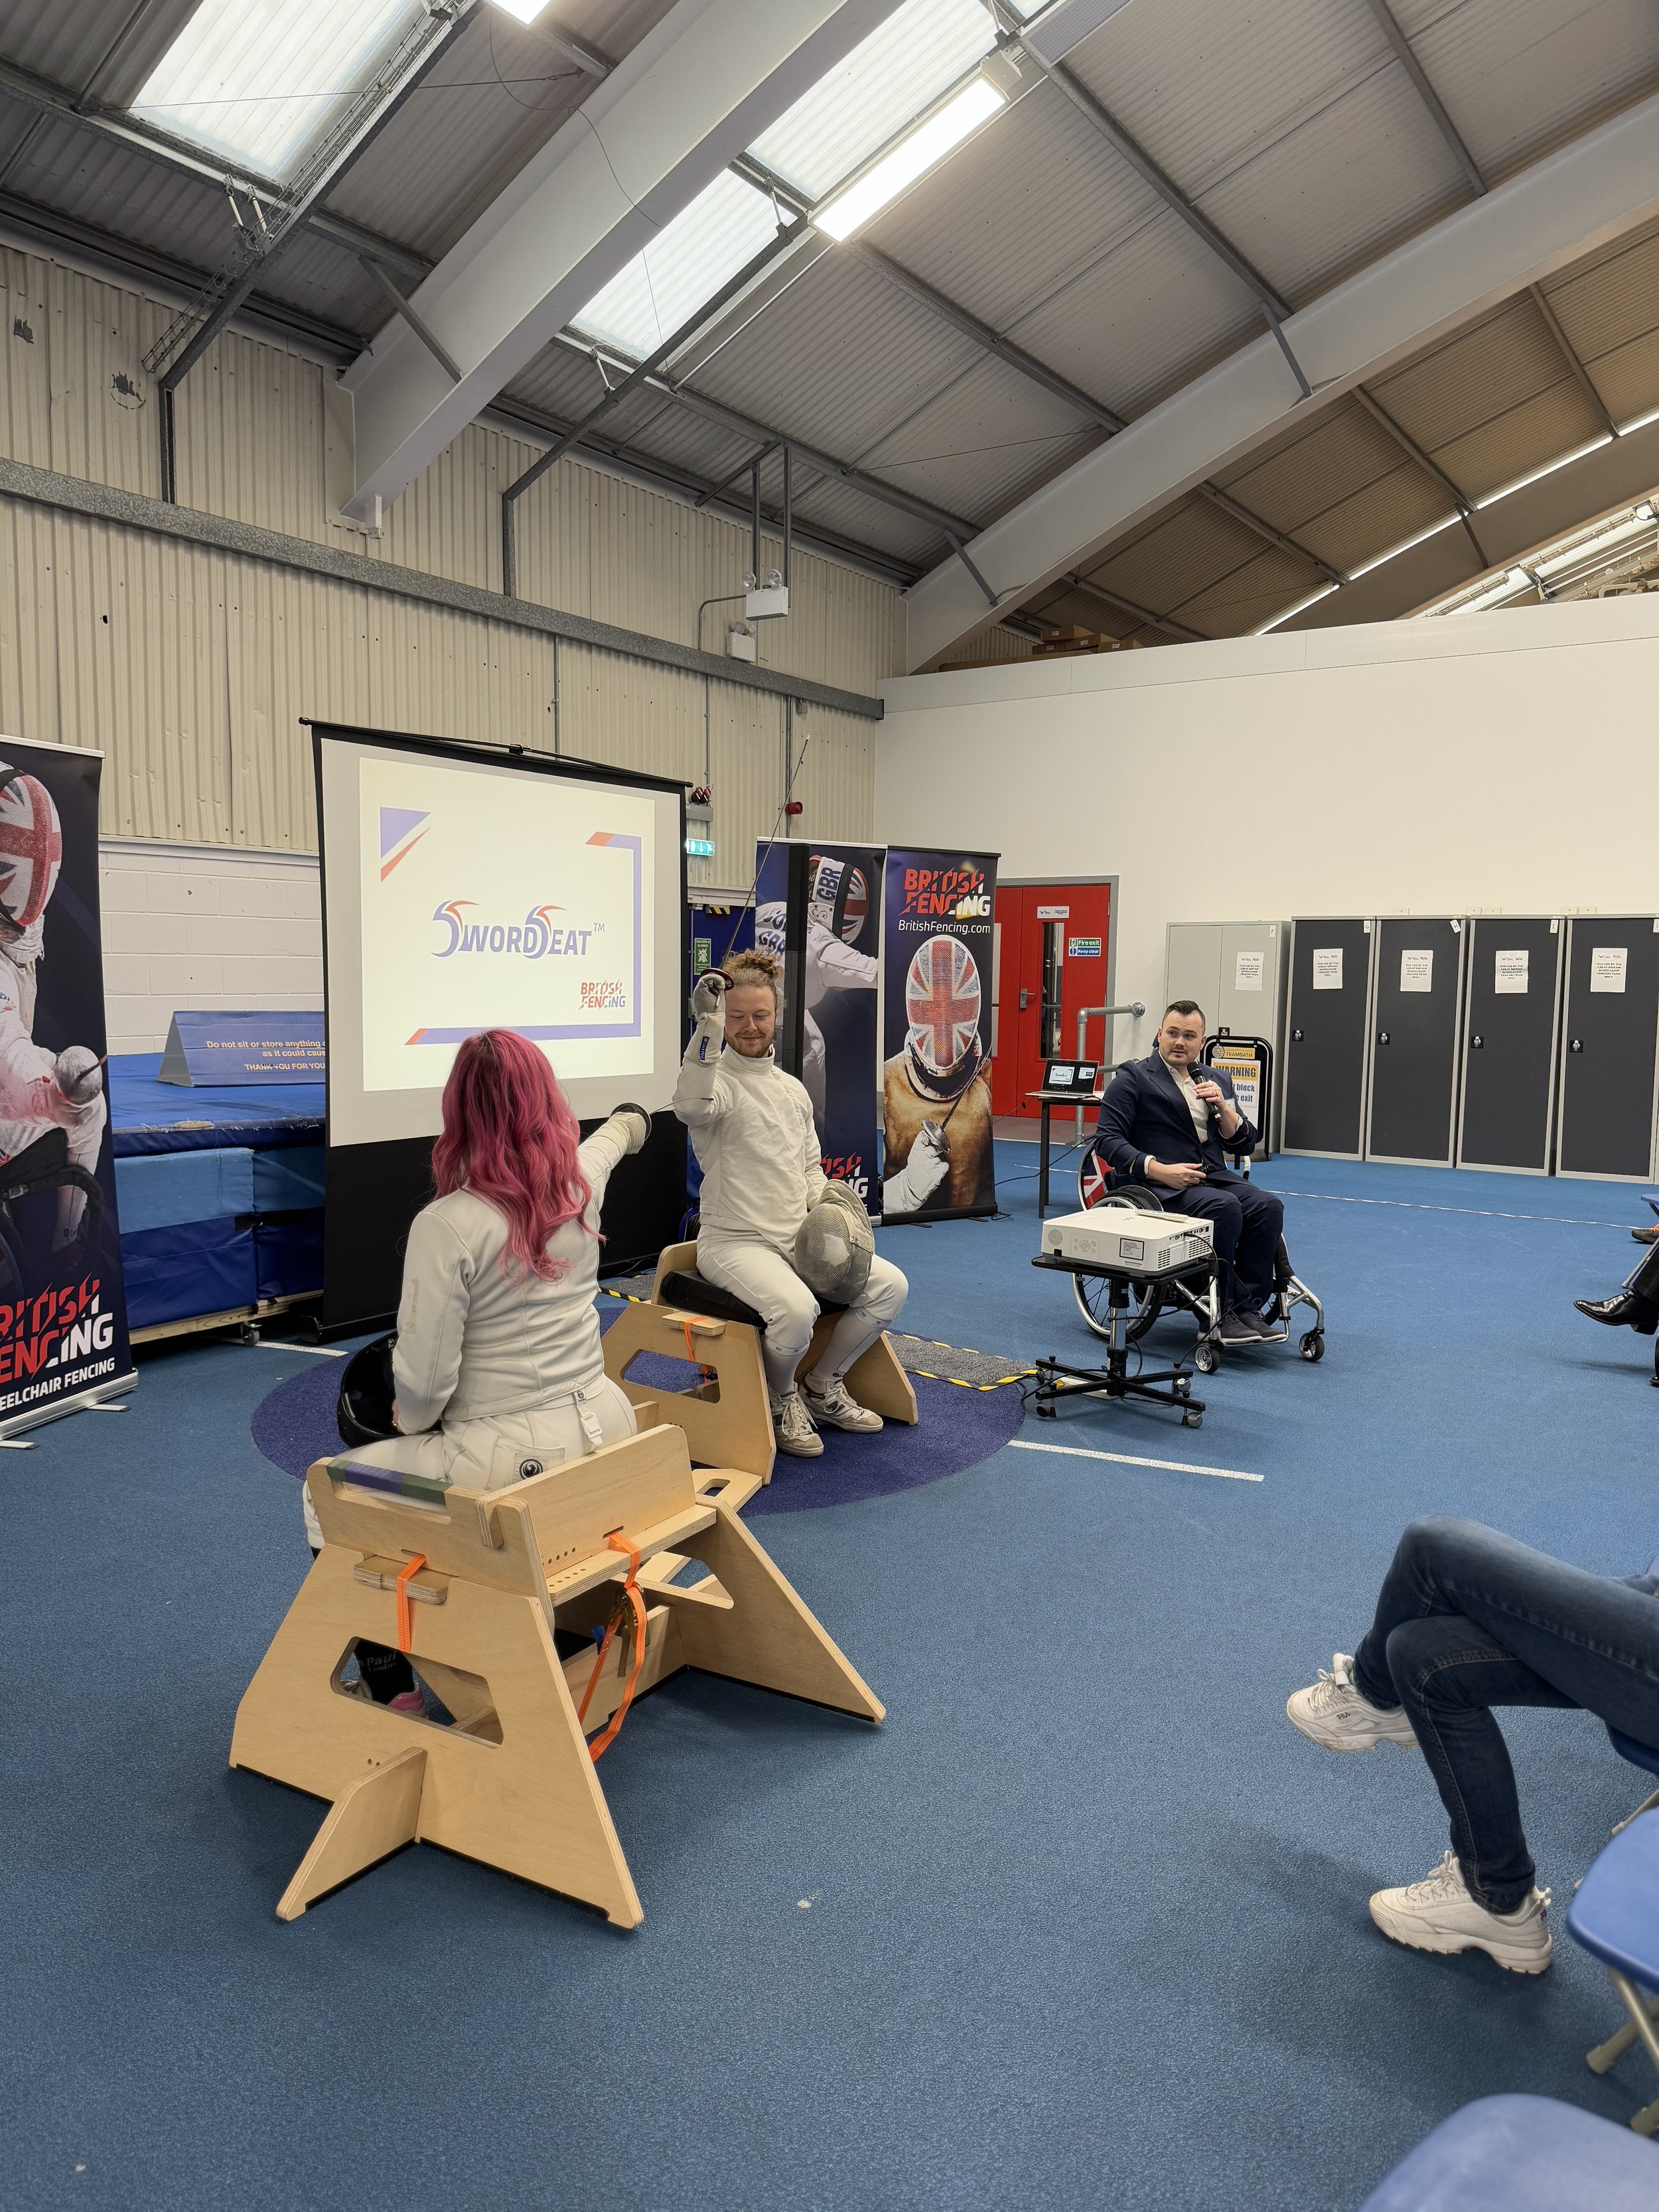
Designed with users in mind, the Sword Seat makes the joy of wheelchair or seated fencing accessible to all.
Designed and developed by Dr. Ed Elias with his Integrated Design Engineering student Conor Roberts at the University of Bath on behalf of British Fencing. The Sword Seat is our response to the prohibitive cost and equipment requirements of wheelchair fencing.
Reducing the cost from many thousand pounds to a few hundred and making large bulky hunks of metal (that, to the surprise of many, are not allowed to move!) to something, low cost, DIY and easy to transport.
We really hope you give it a try and enjoy this fantastic sport!
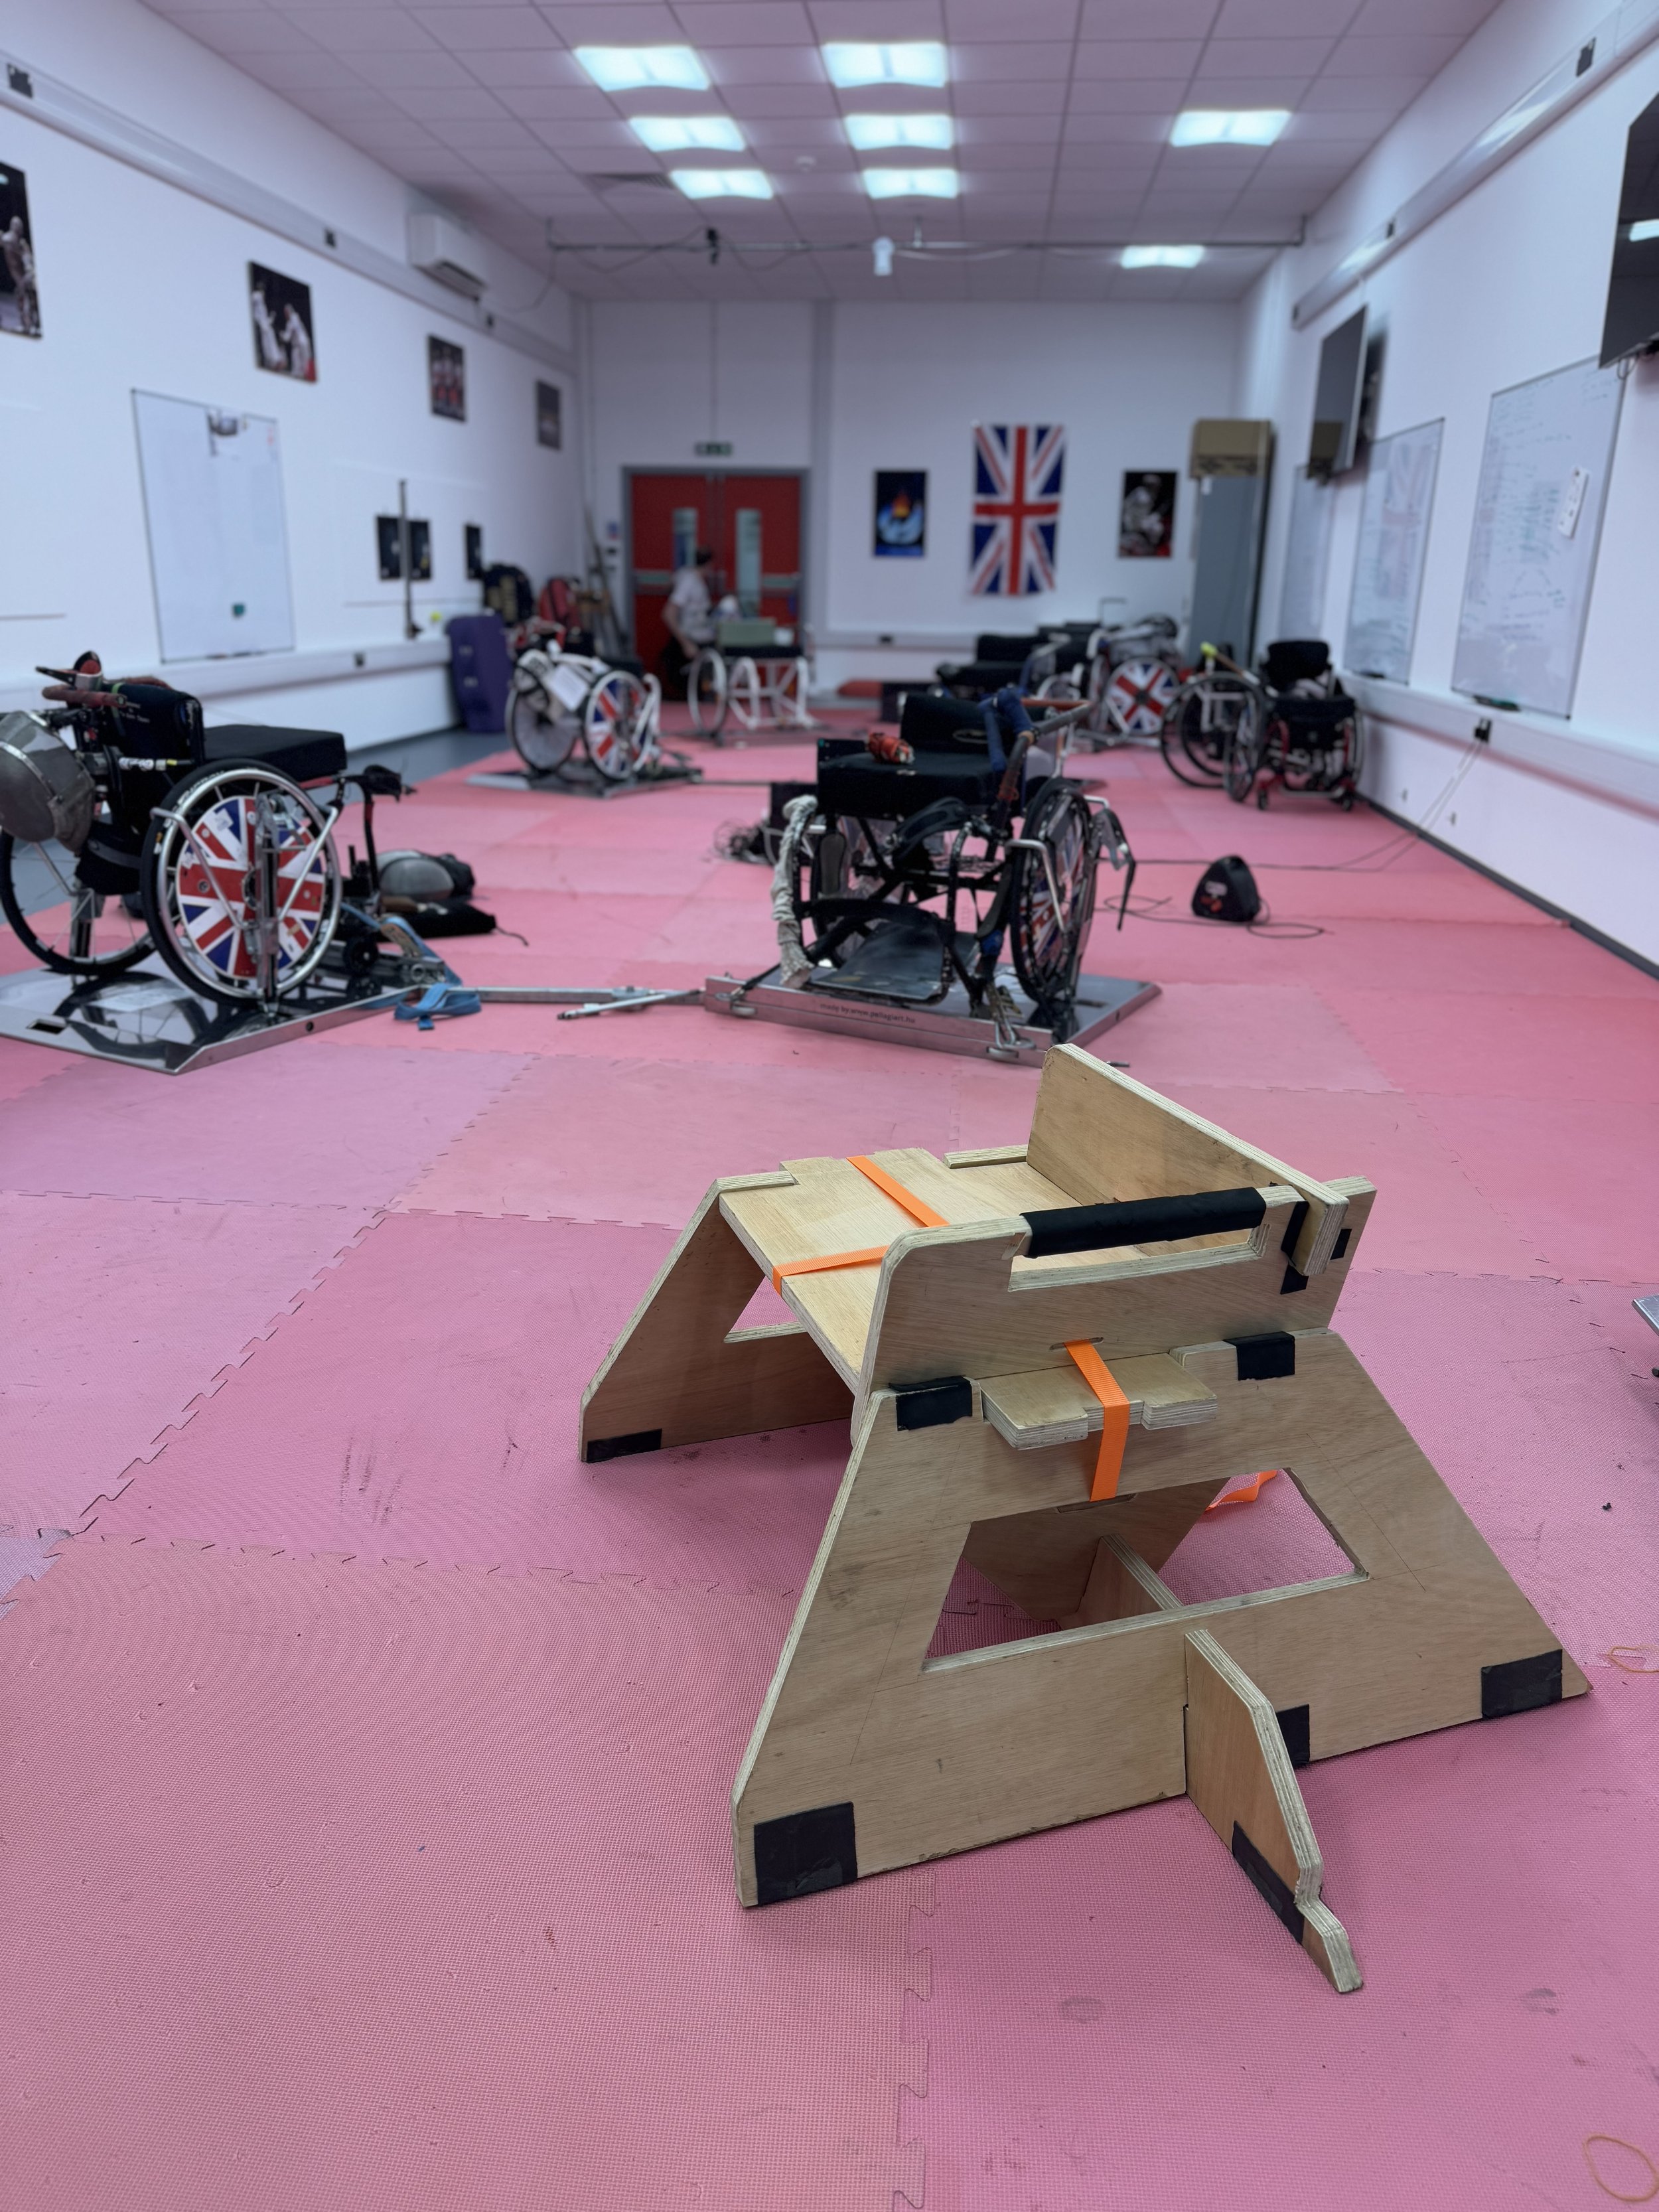
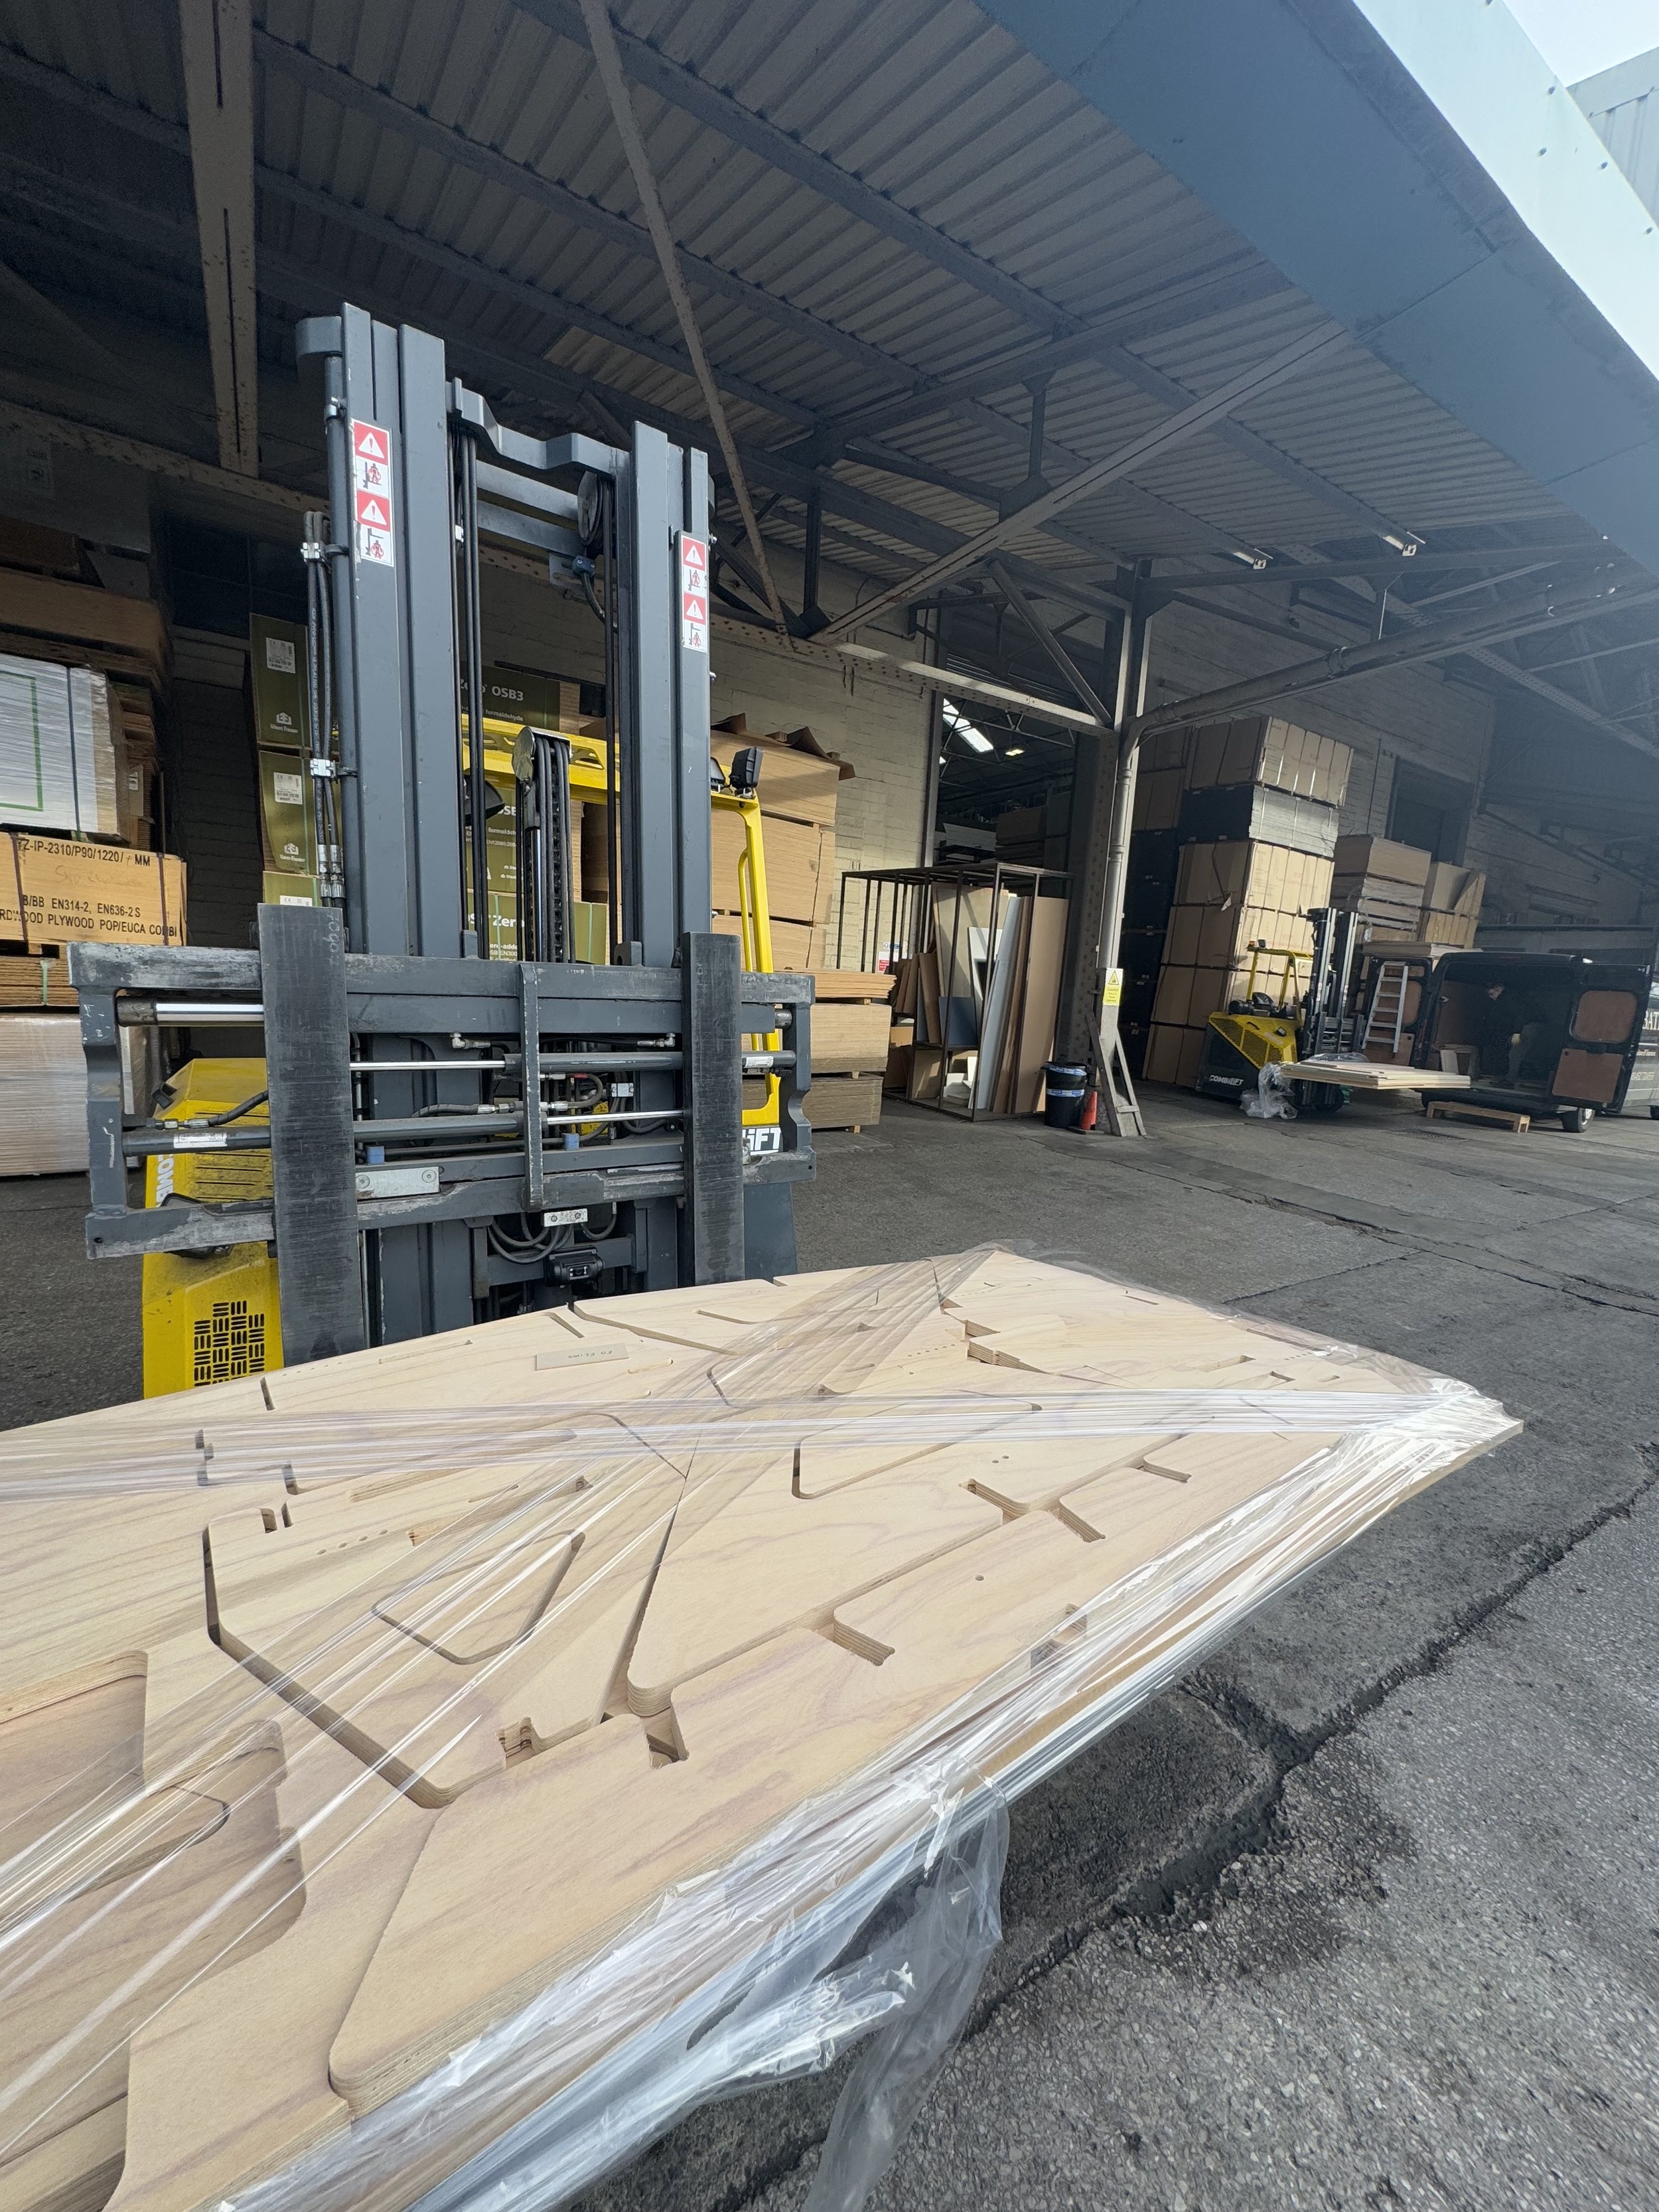
Six pieces, flat pack.
Slot together, left or right handed.
Strapped secure. Ready to fence!
Sword Seat in the News:
2024 October: INTRODUCING THE SWORDSEAT
2024 October: Innovative British Fencing-backed ‘SwordSeat™’ aims to make Wheelchair Fencing more accessible
2024 October: SEATED FENCING A GREAT SUCCESS AT 2024 WHEELPOWER GAMES
2025 January: BBC News - Wheelchair fencing seat 'gamechanger' for sport
2025 January: Bath University - Bath-designed SwordSeat™ fencing chair launched by British Fencing
2025 January: Engineering Designer - British Fencing launches innovative fencing chair





How to assemble…
All the pieces are marked with a different number of drilled holes, one to six, to help you identify each piece. With a bit of practice we can put it all together in under a minute.
For each chair you will need:
The six wooden parts
Two ratchet straps
One cushion (18” x 16” fits nicely)
The alignment board to help you position them correctly.
Balance the foundation piece (01) on it’s wider edge.
Insert one of the legs (02) in an outermost slot.
Insert the other leg (03) in the opposite outermost slot, facing the same way. The sharp corner is the seat’s back and the blunt corner is the front.
Insert the handle (04) in either of the middle slots, depending on right or left handed fencer. The vertical slot should be at the back.
Insert the seat (05) through the handle and onto the top of the legs. It doesn’t matter if right or left handed.
Slot in the backrest (06) into the handle and the seat.
A right handed fencer has the handle on the left, and a left handed fencer has it on the right.
Adding Straps
We 100% recommend using two ratchet straps to hold the whole thing together when fencing. Although this takes another couple minutes to do each time, it makes a big difference to the stability of the seat and when pulled tight it means any looser fitting parts (if cut yourself) will be pulled tight and won’t move when in use.
Don’t worry that the straps are not flush on the seat, once you’ve added a cushion, you won’t notice them.
We usually start with the front to back strap, ensuring the ratchet mechanism is out the way underneath.
Then add the left to right strap.
For both straps we’ve tried to add guiding holes and indents so you know where to put them.
Fencing Alignment
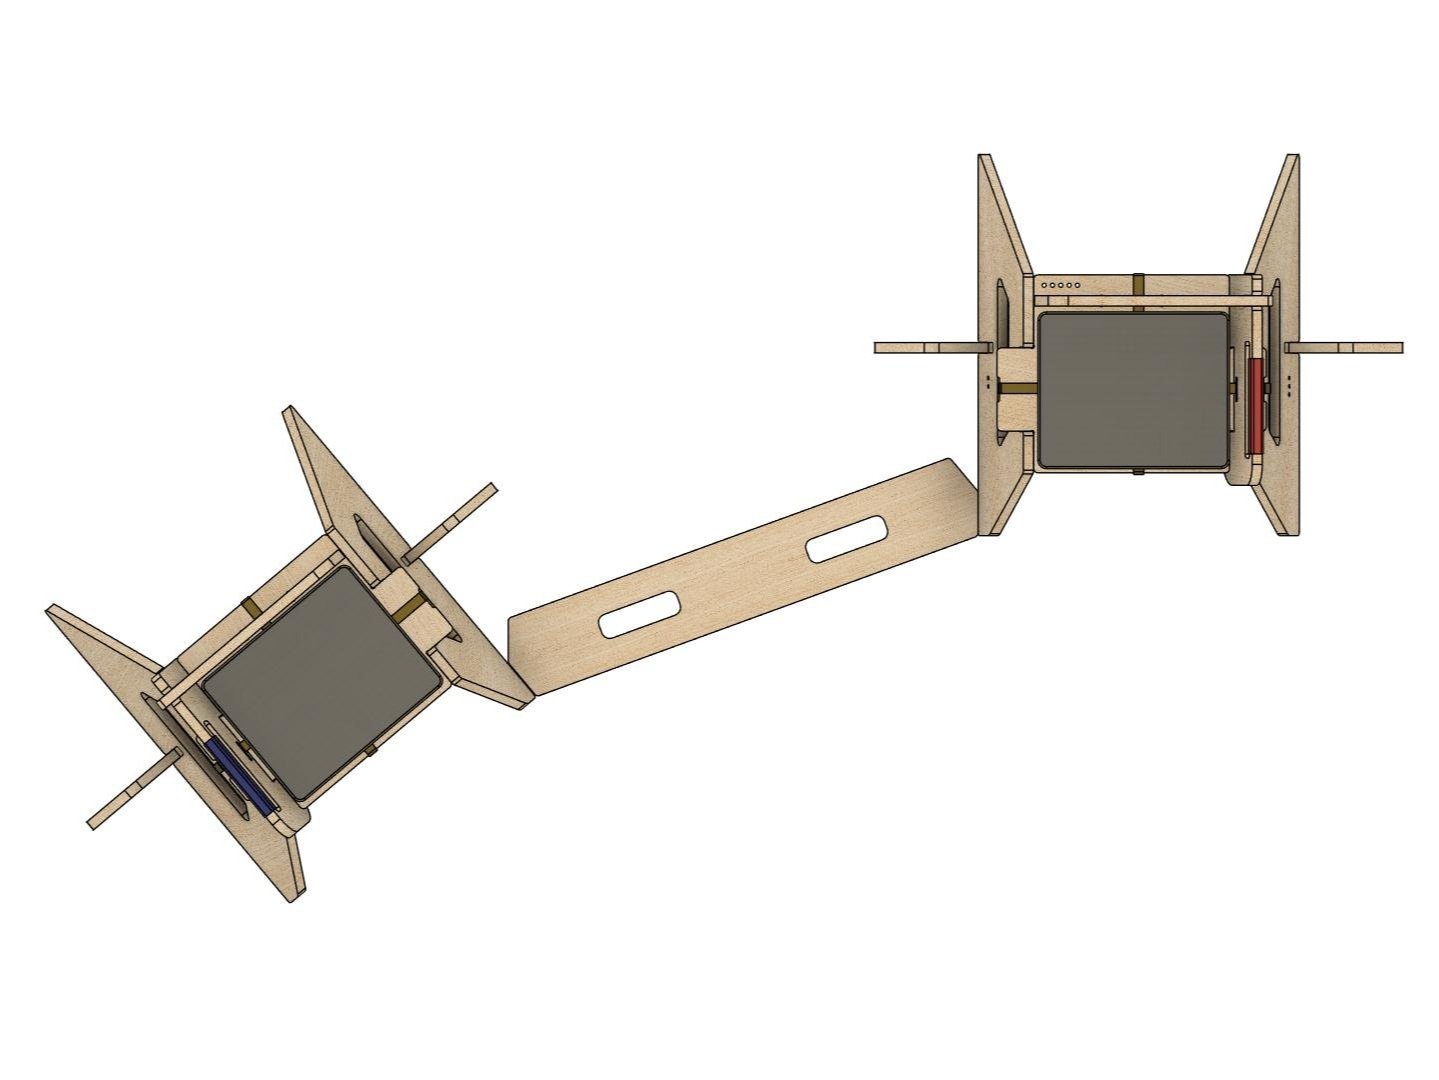
It’s important for competitive practise that the chairs are aligned correctly to meet the rules of the sport. The design includes a long and a short alignment board. Whilst unfortunately the length of the board is not adjustable, it will give you the correct angles which is the most important bit and hardest to gauge by eye.
For a right handed vs right handed person (or left vs left) make sure the chairs are on opposing diagonal edges (as shown here). For left vs right, one of the chairs should be spun around and then aligned to the same side of the board.
Right vs Right Handed (or Left vs Left)
A right vs right handed fencer, as shown here (or for a left vs left). The seats are parallel to each other and feel like they’re driving passing each other.
Right vs Right Handed
Right vs Left Handed
For a left vs right handed fencer, The left handed chair needs to have it’s handle flipped to the other side and then the whole thing spun around and aligned such that the chairs feel like they’re driving on a collision course towards each other.
Left vs Right Handed
Make your own!
(Hopefully available soon!) download the technical design files so you can make your own, or purchase a paper printed template to cut around. Once you’ve made one, you can draw around it to make as many as you need.
To make your own you will need:
25mm plywood board - Far East BB/CC Ply EN636-3 or better
A drill (6mm drill bit recommended) so that you can drill out the internal corners
A jigsaw (or hand saw), we also found a cordless circular saw made quick work of many of the straight edges.
All the wooden pieces you need for a complete set of two seats will fit on a single 10’ x 5’ board, but these can be harder to find so you’ll need 2 8’ x 4’ boards. If tight for space, you probably won’t use the extra long alignment board and can make do with just the shorter one.
Final touches
There are a few small touches we’d recommend everyone does before using, just to make it more comfortable:
Sand down the edges, most you can leave alone, but around the handle, backrest and front edge of the seat are recommended as a minimum.
Along the bottom edges, any bit that will touch the floor, we found putting a piece of gaffa / duct tape or some other similar hard wearing cloth tape made it much less likely to move around during fencing. It also helps protect the floor.
Wrap the handle with tape or something like a tennis rachet grip wrap made a big difference in terms of comfort when fencing. To ensure they were extra secure, we wrapped the ends of the tennis rachet grip in an extra piece of cloth tape.
British Fencing (BF) Disclaimer – The SwordSeat™ is a beginner’s chair for community use as part of the development of a seated fencer. The chair is designed and intended for use only as specified below.
Use must be restricted to club or recreational fencing.
The chair must be manufactured and assembled to the BF SwordSeat specification (including the specification below) without any deviation.
Use of the chair must be risk assessed individually for each participant by a coach who is BF registered and has a valid BF SwordSeat™ certification and who is satisfied that the chair is safe for the participant to use and who supervises use of the chair.
Participants have declared to the supervising coach all relevant injuries and disabilities prior to use.
The chair is safe to use only if the above requirements are met.
The chair may be manufactured and/or used only if all those requirements are met.
Manufacturing and Assembly:
The chair should be made from 25mm plywood board – Far East BB/CC ply EN636-3 or better and secured with two ratchet straps as indicated in the instructions before use. Please ensure that you follow all safety precautions and use appropriate tools during assembly. If you are unsure of your ability to assemble this furniture safely, we recommend professional assistance.
By assembling this furniture, you agree that you are solely responsible for its assembly and use. British Fencing provides assembly instructions as a guide and do not accept any liability for errors in assembly or any resulting injury or damage. BF excludes (so far as is it is able) any liability (including liability for negligence) arising from the manufacture or use of the chair (including where the chair is not manufactured or used as required above).”


